
I have always wanted to make these pumpkin topiary's using live pumpkins but I live in south west Florida. It is still very hot here in September and most if not all of October so useing real pumpkins is not really an option here. You see they tend to melt if left outside to long and I would like them to last though Thanksgiving.
With this in mind I broke down and bought foe pumpkins to make my Pumpkin Topiarys. If you would like to make these here is the DIY.

Frist you will need to purchase your pumpkins. I got mine at Hobby Lobby on sale but you can get them at any craft store. I think Walmart even has them. You will need three different size pumpkins. I used Styrofoam pumpkins in small, medium and large. Chose the shades of pumpkins that you like. You could use all orange or green, white or mix it up. Your topiary, your choice.
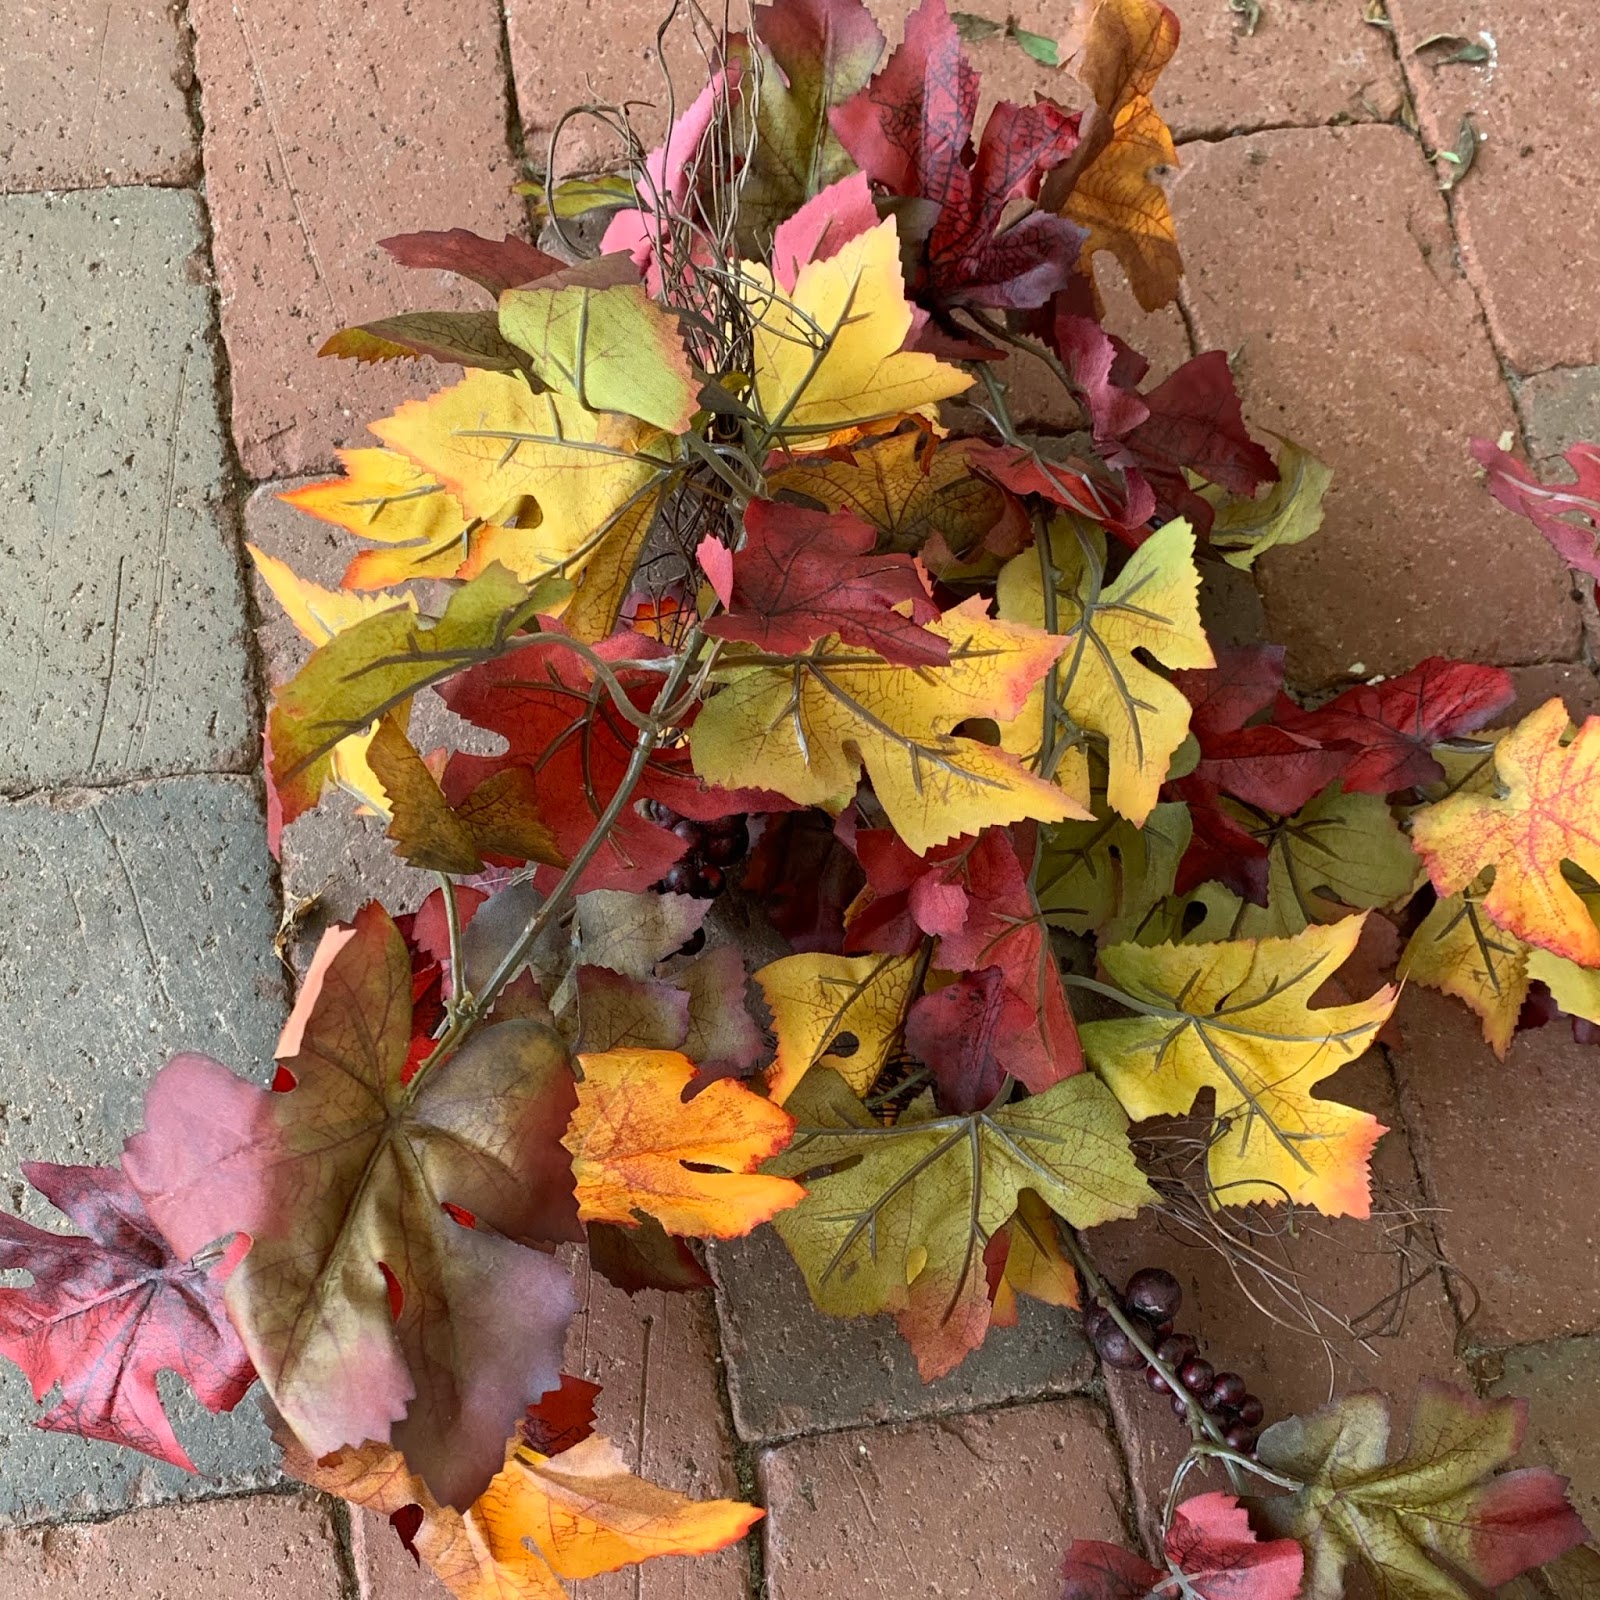
You will also need some fall leaves. Now if I lived where I had access to real fall leaves I would have used those but I don't so I used a fall garland. If you chose to use a garland you will need one garland for each topiary.
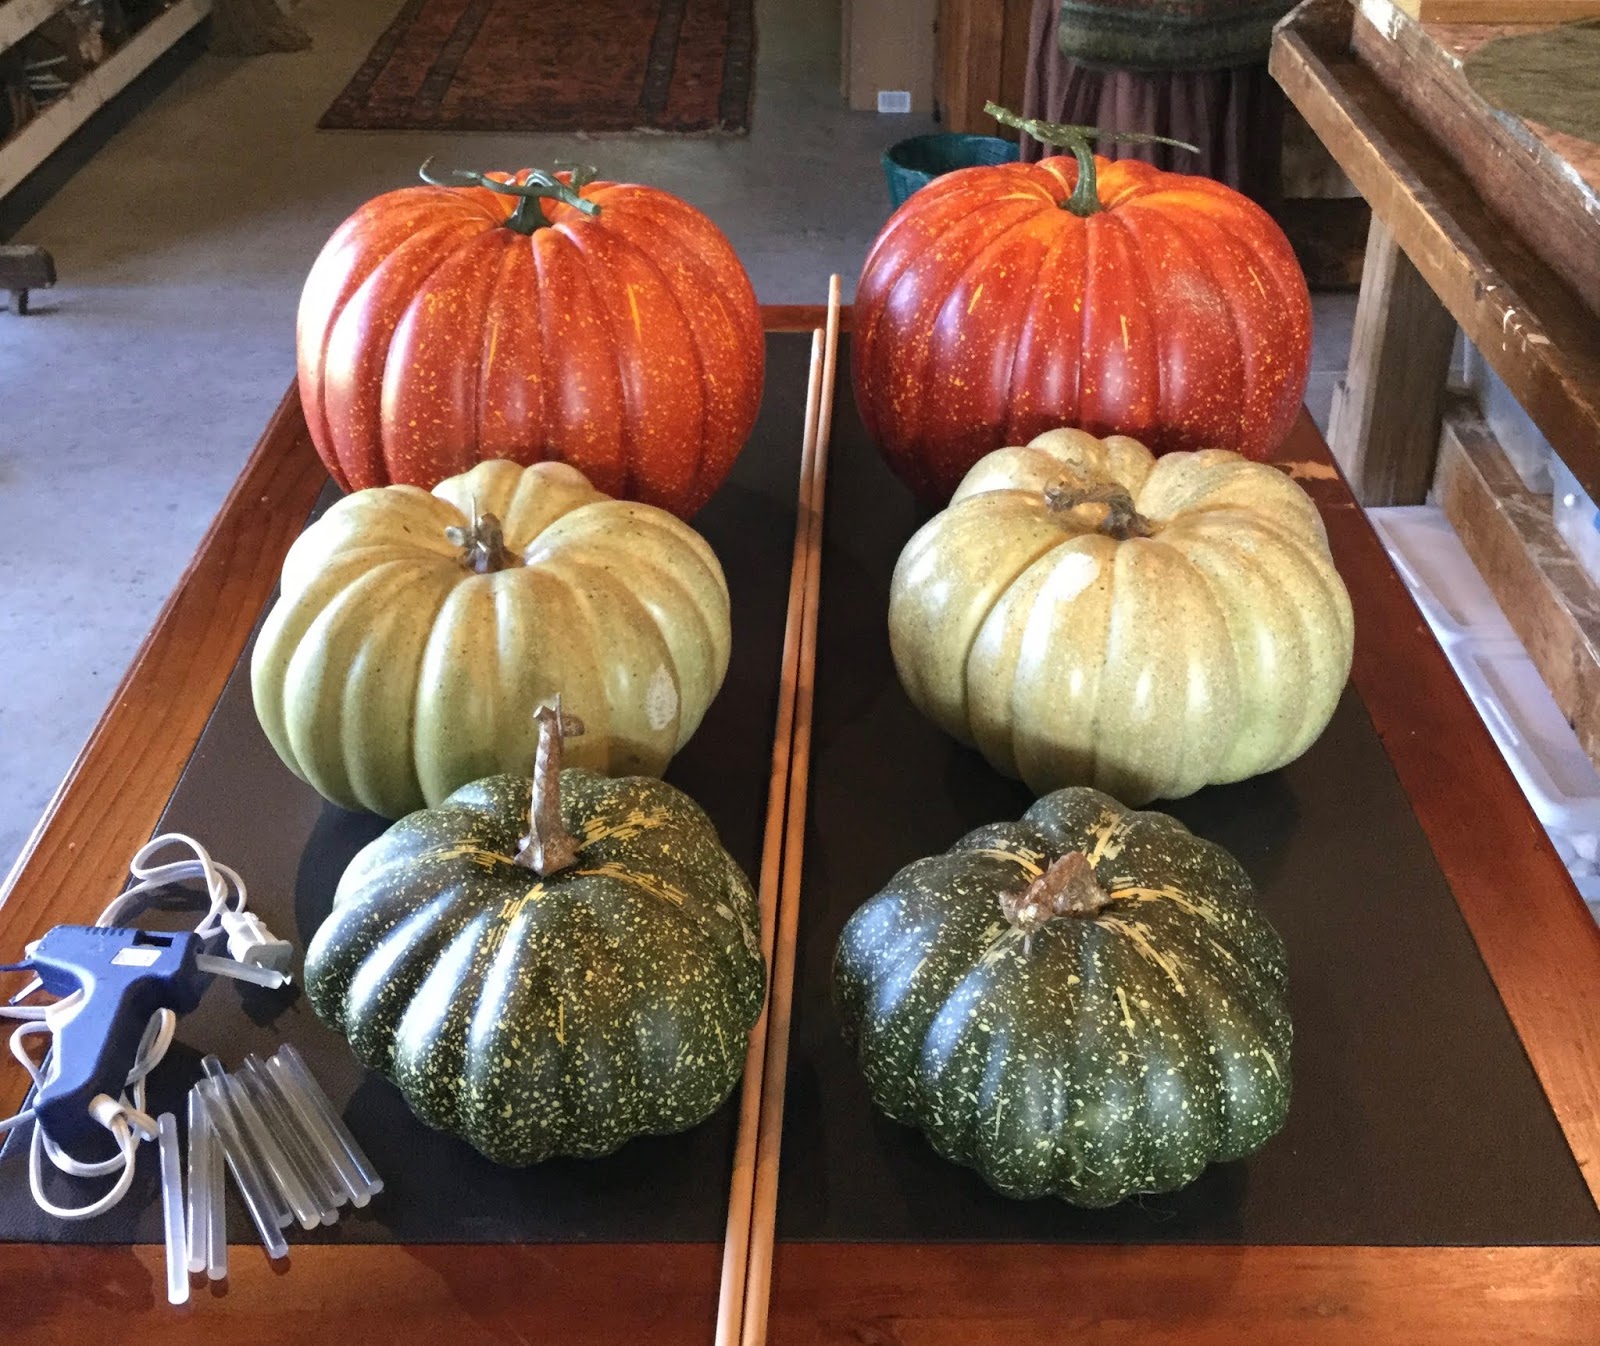
You also need two dowels, glue gun, glue sticks and needle nose pliers.

Okay lets play! You will need to remove the stems from the large and medium pumpkins. Don't remove the stem from the small pumkins. Take your pliers and firmly but gently pull out your pumpkin stems. Place the hand that is not pulling out the stem around the base of the stem. You are doing this so that you do not pull the paint off of the pumpkin.

Okay good job. Now use your dowel to string your pumpkins together. Starting with the large pumpkin run the dowel through the bottom of the pumpkin up through the top of the pumpkin. Go slow. You want to make sure your dowel goes through the middle of your pumpkin.

Once you have your large pumpkin on your dowel put the medium pumpkin onto the same dowel.

At this point you can glue your large and med pumpkins together. This does not take a lot of glue. You just want about four small dots on the base of your large pumpkin then gently press the two pumpkins together.

As you put your small pumpkin onto dowel be careful not to push to hard. You do not want your dowel to go through the top of the pumpkin. Once your top pumkin is on your dowel glue the med pumpkin to the small pumpkin.

At this piont you will most likly need to trim your dowel. I used garden clippers.
Hold your topiary up to your pot and cut your dowel so that it is long enough to reach the bottom of your pot. Now place your topiary into your pot. I already had dirt in my pot and a live ivy growing so I just put my topiary into the dirt that was in my pot. If you don't want to use dirt you could cut styrofoam to fit the inside of your pot instead of dirt.

Take your garland and rap it around the base of your large pumpkin. Cut the garland and twist the ends together or hot glue them together.

Do this again for the middle section of your topiary. Place your last piece of garland into the front of the top pumpkin. You will not have enough garland to go all the way around the top pumkin but thats okay it still looks great.

Look what you have created. Great job!

I hope you enjoyed creating these beautiful pumpkin topairy's and enjoy them thoughout this fall season and years to come.

Join us every Tuesday for a new craft DIY. Next week Rachel will be sharing how to make miniature pumpkin topiaries. You're not going to want to miss this one. Happy crafting!
No comments:
Post a Comment