Tuesday, October 1, 2019

DIY Velvet Pumpkins

Wrinkles and Grace has a  Ladies Craft Night once a month. Ladies of all ages gather together to craft and socialize. We have such a wonderful time together and we would like to share some of the fun with you.


This week we made Velvet Pumpkins. Here is the supply list and DIY instructions.

Supply List...

Velvet
Scissors
Something to mark fabric with
Hot Glue and Hot Glue Gun
Small Sticks or Driftwood
Embroidery Thread
Embroidery Needle
Beans or rice
Poly-fil

First you will need some velvet. You could go out and buy velvet at the fabric store but that can be very expensive. Rachel and I made a Goodwill run and found some old velvet shirts in several different colors. Rachel, also had an old velvet curtain that were able to used.


If you choose to use an old shirt you will need to cut off the sleeves and neck.


Then cut down the seems so that you have flat fabric to work with. You can also open up the sleeves. The sleeves work well for smaller pumpkins.


You can use anything to make your circles. I used a trash can lid for my large circles. A pot for my medium circles and a planter for my small circles. It does not matter what you use as long as it is round.


Lay your circle (bowl, pot, lid, etc.)  flat on your fabric and trace around it.


Cut out your circles.


Now it is time for a little sewing. We used embroidery thread and an embroidery needle.


You need your thread to be strong because you will be doing some pulling of the thread later and you don't want your thread to break.


Sew around the top edge of your circle leaving about a 1/4 in. exposed at the top.


Once you have sewn all the way around your circle stop. Leave an opening and do not cut your thread.


Place about a hand full or so of beans or rice into your circle. We are not stuffing our pumpkin. We are just giving it a little weight so that it feels good and will sit nicely.


Now it is time for the poly-fil. Here is a little tip... fluff your fill. Do this by pulling it gently making it soft so that you do not have a lumpy pumpkin.  Place some fill into your pumpkin being careful not to over stuff. You will be very surprised at how little poly-fil you will need to stuff your pumpkins. Leave your pumpkin open.


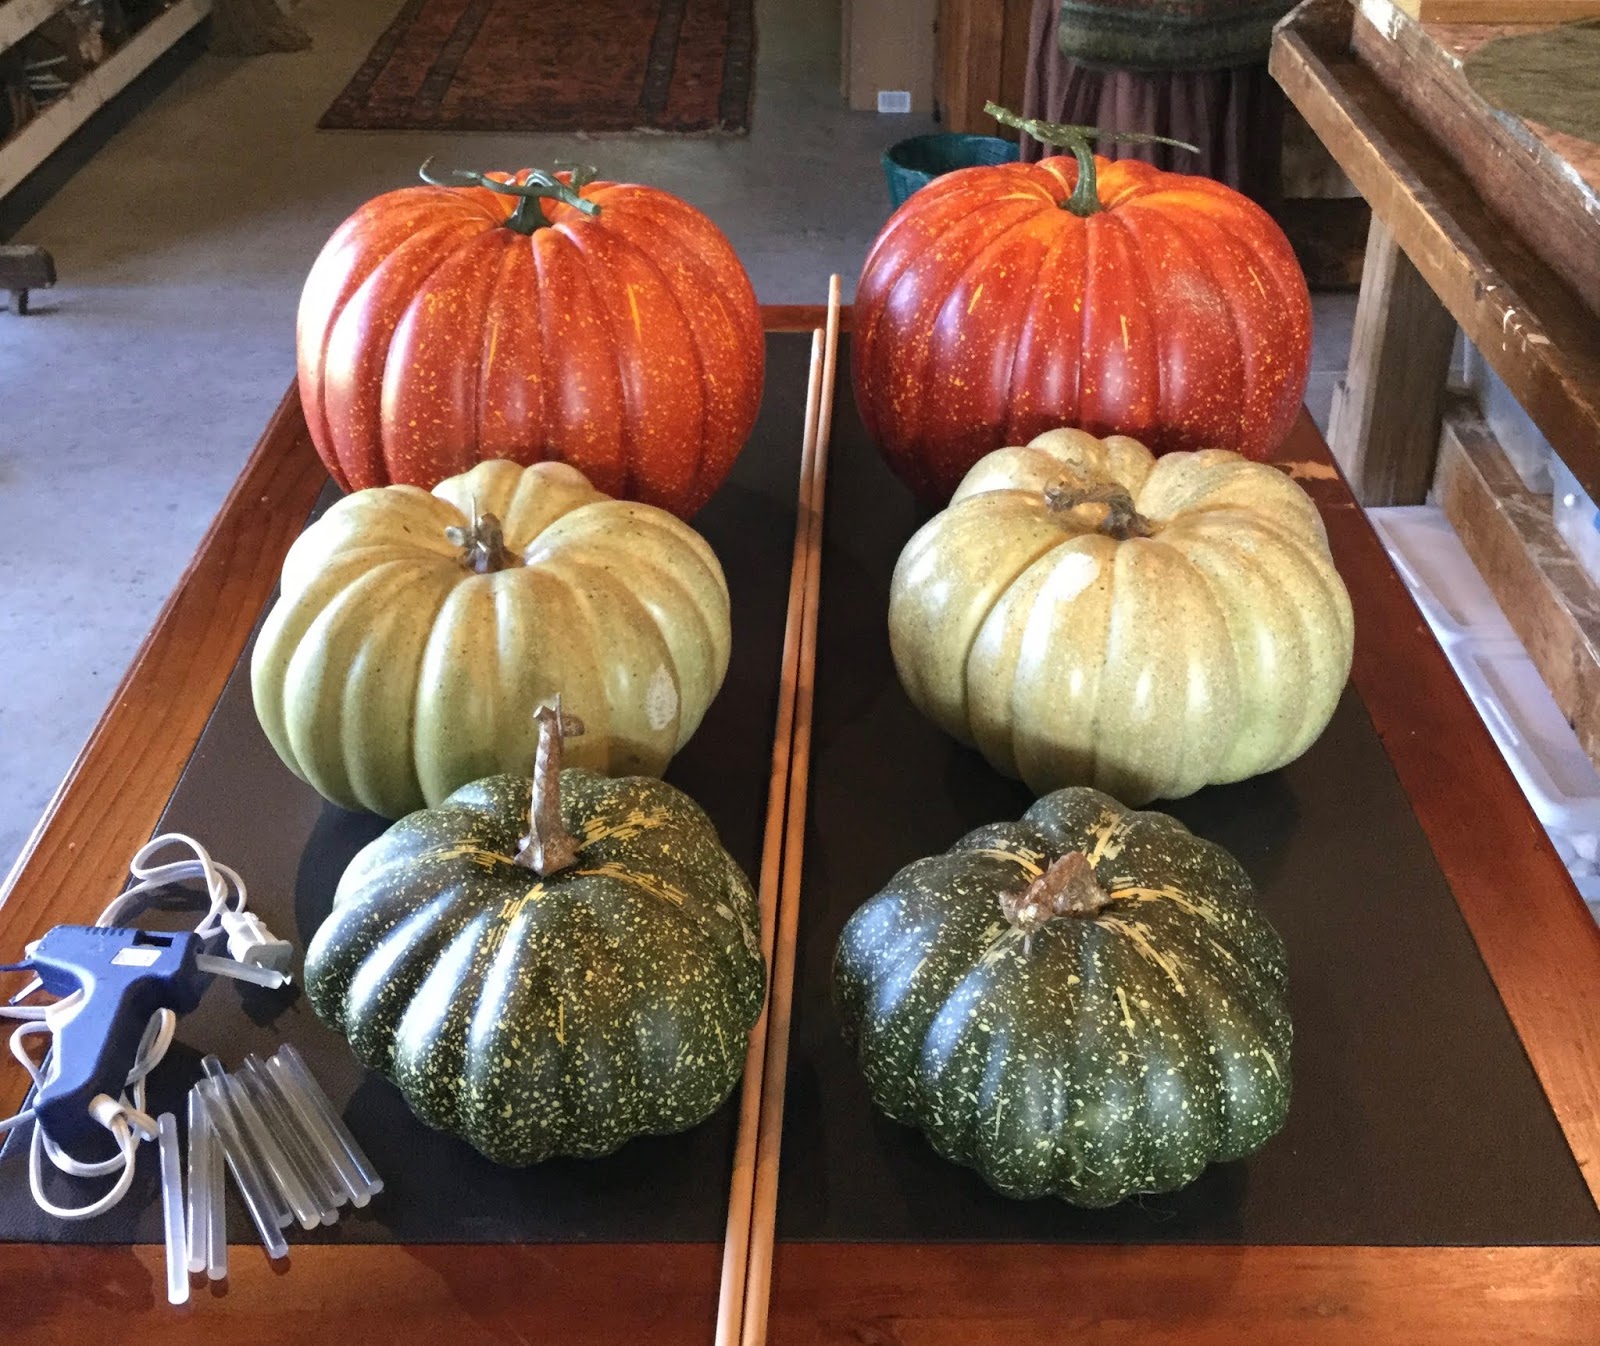
Choose a pumpkin stem. We used sticks and driftwood for our pumpkin stems.
Place your stem into the middle of your pumpkin.


Using a glue gun place glue around the inside top edge of your fabric. Gently pull your embroidery thread so that all of your fabric is tight around your stem.


Hold this for a few seconds until it is dry. Be very careful not to burn your fingers. The hot glue can get very hot.


Now you can tie a knot in your thread and cut the extra thread off.


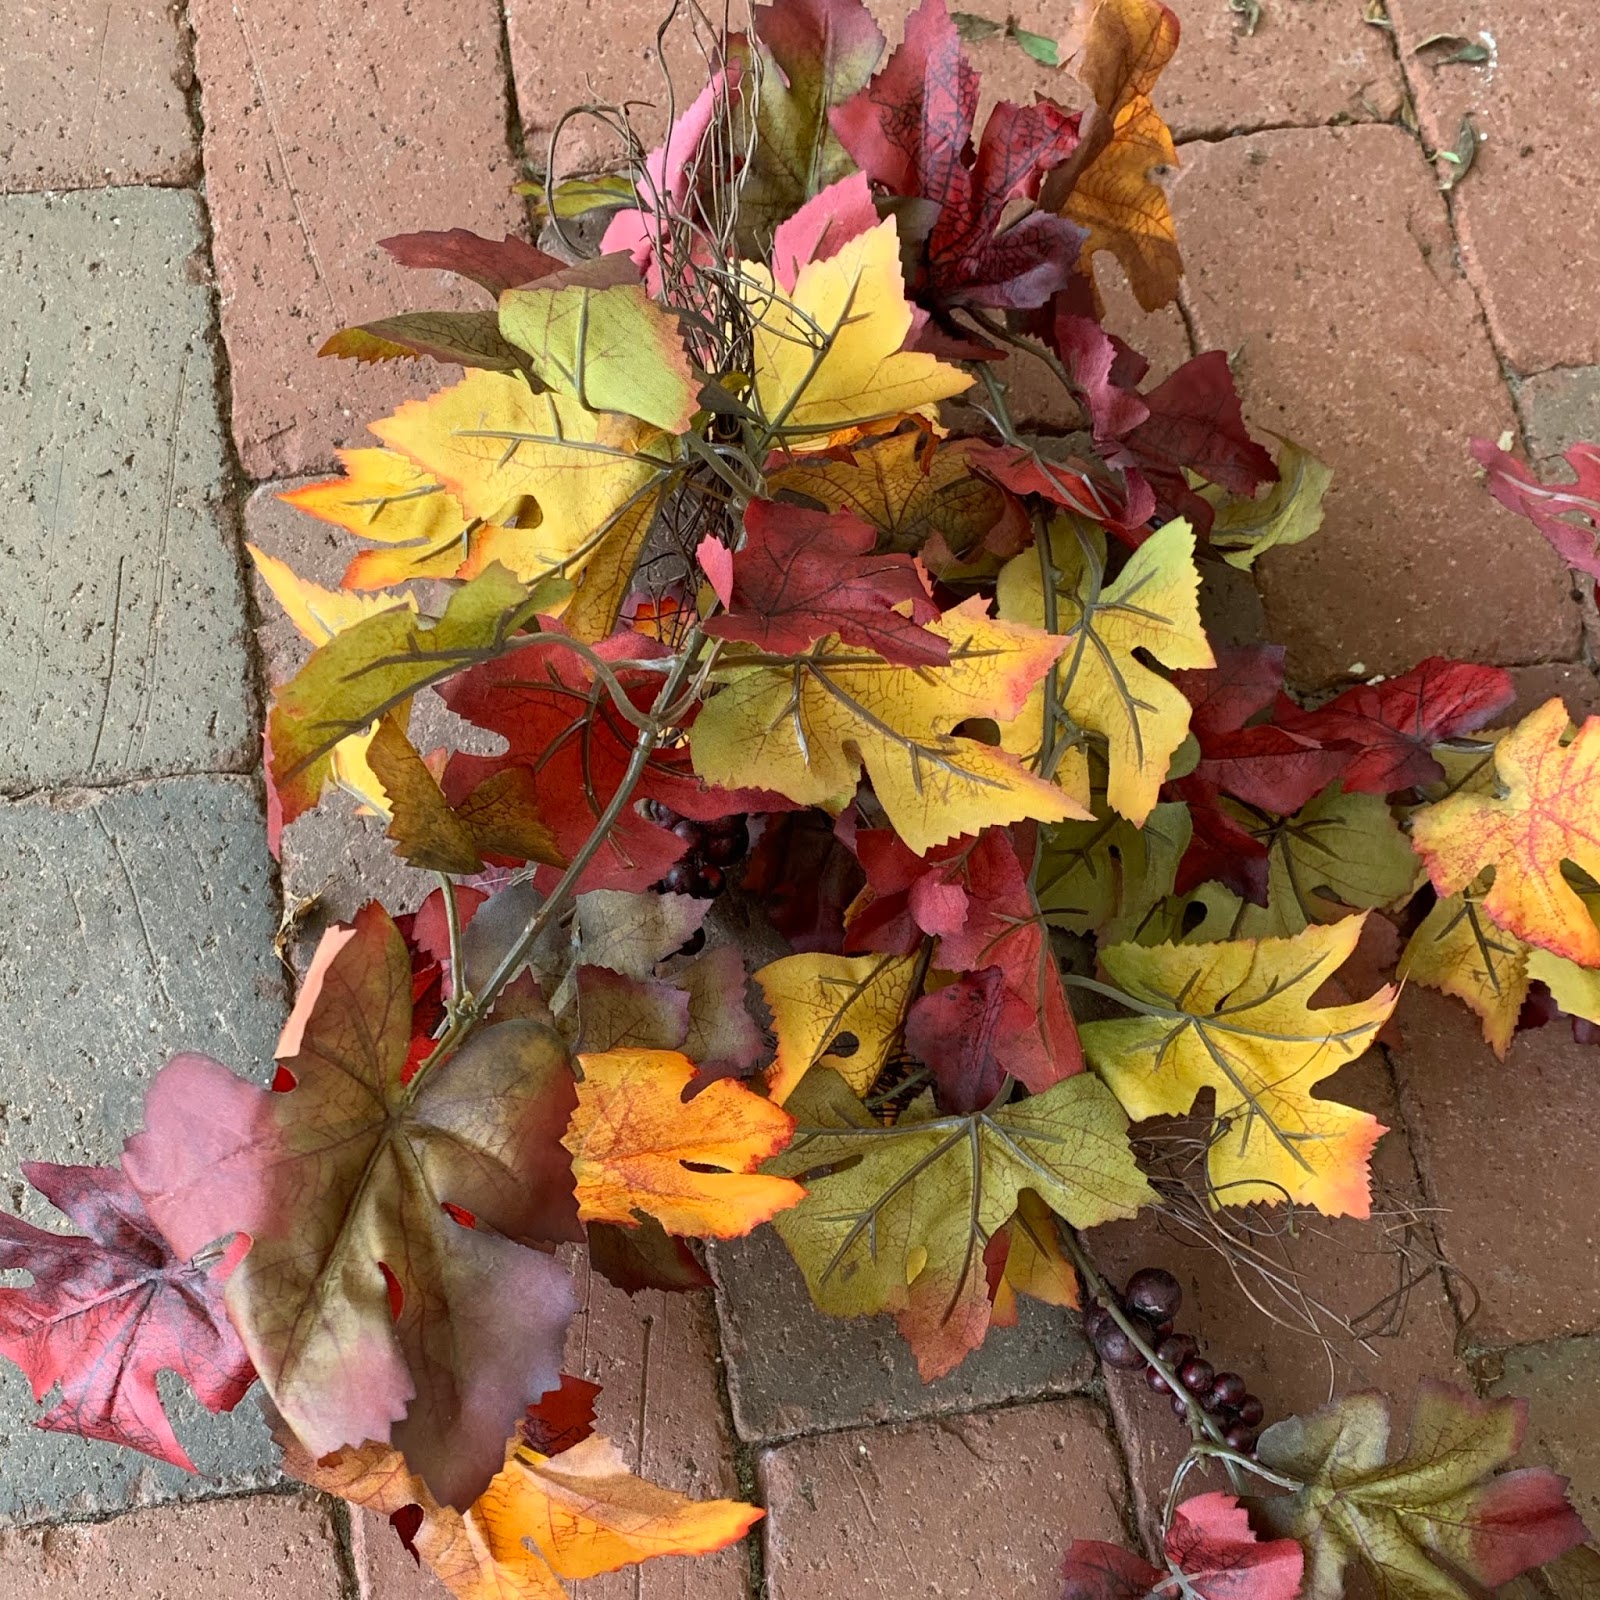
Some of us choose to add leaves to our pumpkins.


We did this by cutting leaves out of fabric and hot gluing them onto our pumpkins.


Everyone had so much fun and each Lady went home with three beautiful pumpkins.


 Wrinkles and Grace is about multi-generational women coming together to encourage and embrace one another. We are sharing our knowledge and experiences of life with one another and learning we don't have to walk alone.


We would love to here from you. If you want to join us please reach out by emailing us. Maybe you want to start your own Ladies Night Out and just need a few tips. We would be happy to share what we have learned this past year.
We also have Grace Mail. Grace Mail is like a secret pen pal. We match an older person with a younger person and they correspond through out the year sending small gifts and/or notes of encouragement. We would love for you to join the Grace Mail community with confidence that you will find blessing though it. If you would like to participate with us send us a message, email or comment on this post and we will get you started!
Thank you for following us. Until next time, Happy Crafting.

Thursday, September 26, 2019

DIY Pumpkin Topiarys


 I have always wanted to make these pumpkin topiary's using live pumpkins but I live in south west Florida. It is still very hot here in September and most if not all of October so useing real pumpkins is not really an option here. You see they tend to melt if left outside to long and I would like them to last though Thanksgiving.
 With this in mind I broke down and bought foe pumpkins to make my Pumpkin Topiarys. If you would like to make these here is the DIY. 


 Frist you will need to purchase your pumpkins. I got mine at Hobby Lobby on sale but you can get them at any craft store. I think Walmart even has them. You will need three different size pumpkins. I used Styrofoam pumpkins in small, medium and large. Chose the shades of pumpkins that you like. You could use all orange or green, white or mix it up. Your topiary, your choice.


You will also need some  fall leaves. Now if I lived where I had access to real fall leaves I would have used those but I don't so I used a fall garland. If you chose to use a garland you will need one garland for each topiary.


You also need two dowels, glue gun, glue sticks and needle nose pliers.


 Okay lets play! You will need to remove the stems from the large and medium pumpkins.  Don't remove the stem from the small pumkins. Take your pliers and firmly but gently pull out your pumpkin stems. Place the hand that is not pulling out the stem around the base of the stem. You are doing this so that you do not pull the paint off of the pumpkin.


 Okay good job. Now use your dowel to string your pumpkins together. Starting with the large pumpkin  run the dowel through the bottom of the pumpkin up through the top of the pumpkin. Go slow. You want to make sure your dowel goes through the middle of your pumpkin.


 Once you have your large pumpkin on your dowel put the medium pumpkin onto the same dowel. 


 At this point you can glue your large and med pumpkins together. This does not take a lot of glue. You just want about four small dots on the base of your large pumpkin then gently press the two pumpkins together.


 As you put your small pumpkin onto dowel be careful not to push to hard. You do not want your dowel to go through the top of the pumpkin. Once your top pumkin is on your dowel glue the med pumpkin to the small pumpkin.


 At this piont you will most likly need to trim your dowel. I used garden clippers. 
Hold your topiary up to your pot and cut your dowel so that it is long enough to reach the bottom of your pot. Now place your topiary into your pot. I already had dirt in my pot and a live ivy growing so I just put my topiary into the dirt that was in my pot. If you don't want to use dirt you could cut styrofoam to fit the inside of your pot instead of dirt.


 Take your garland and rap it around the base of your large pumpkin. Cut the garland and twist the ends together or hot glue them together.


 Do this again for the middle section of your topiary. Place your last piece of garland into the front of the top pumpkin. You will not have enough garland to go all the way around the top pumkin but thats okay it still looks great.


Look what you have created. Great job!


I hope you enjoyed creating these beautiful pumpkin topairy's and enjoy them thoughout this fall season and years to come.


Join us every Tuesday for a new craft DIY. Next week Rachel will be sharing how to make miniature pumpkin topiaries. You're not going to want to miss this one. Happy crafting!

Tuesday, September 17, 2019

Table Pumpkins

DIY Table Top Pumpkins

I don't know about y'all, but I love the fall. Living in Florida we don't get the beautiful weather, but I still get all the fall feels of the holidays approaching. It's also a chance to change up my home decor and start getting festive. We at Wrinkles and Grace started giving y'all some ideas of how to get your home ready for pumpkin season last week. My mom, Ginny, shared step by step directions on how to make gorgeous topiary out of pumpkins on the blog. They look amazing framing her front door. I encourage you to head over and check out that post also if you missed it. That post inspired me to create a smaller version. I love the large pumpkin topiary. However, many people live in apartments or they don't have the space for a fall display that large. So, how do you get the look without the front porch. You make mini ones for your table top and this is how you do it on a budget. These cuties come in at about $4 each.

This is what my final product looks like. But, I want to start this off by saying it is completely and easily customizable. If you don't care for my color choice or they way I displayed them here. I give tips of how to make it perfect for you at each step.


Now, for the step by step directions.
First, you are going to need 3 small pumpkins. You do have to options to use three of the same size pumpkins. However, I like the look of the three being staggered in size. I found mine at the dollar tree. 


Pictured above are the pumpkins that I chose. The next step was to remove the tags and anything else (like the flowers on top) that you don't want.


At this point if you do not like the color, you can use a spray paint for acrylic paint to make them match the look you would prefer for your home. One of the best parts of this is how easy it is to customize it to your own style. 


The two candle sticks pictured above I found in my garage among with a pile of stuff I can't seem to get rid of. Projects like this one is the reason why I don't think I will ever park in my garage. I save everything because eventually there is a use for it and I will wish I had it or them. These two candle sticks were two different colors. I just used a can of flat white spray paint to get the look I was hoping for. The candle stick on the right was clear and I found it at the dollar tree in the past, but I you can still find the same ones there.


One of the pumpkins that I chose for this project was ceramic. To be able to get them to stack correctly, I needed to hollow out the inside of the one that would sit on top. This way the stem could hid and sit flush under the top pumpkin.


Before starting to glue, you may want to head outside and find a stick or two. I grab one and broke into three equal pieces. I am going to use these to give the topiary a more rustic farmhouse look. But, again its an option and you can chose to leave the stem you have for something totally different. I would have loved to have a real pumpkin stem, unfortunately they aren't available in my area yet. So, these sticks have to do.


Excuse my hot glue gun, I use the thing more than you can even imagine and I am having trouble deciding whether I should upgrade or replace with them same thing. Glue gun connoisseur's feel free to comment with your opinion. Anyway, I simply used hot glue to stick each layer together. Do make sure to put the glue on the candle stick and not the pumpkin, this way you will avoid unsightly drips or not getting them securely glued. 


Also, on the layer that I had to hollow out, I put glue in the hole and around the opening. That way the glue will not show around the base.


After I glued and stacked the pumpkins on top of each other, I stuck the stick on the top to finish it off. Make sure do you as I say and not as I do. Start gluing from the candle stick up. In the picture above I did not do that due to drying spray paint, which made it a little more difficult to balance and get them stacked straight.


That's it. I personally decided to make three. I like the aesthetic of odd numbers in decorations like these. My total cost was $6. 

I hope you take the time to make these and enjoy them as much I do. 

Rachel Batey


Wednesday, September 4, 2019

DIY Dying Silk Scarves


 On Wednesday evening Wrinkles and Grace had their monthly ladies night out. 
We had a wonderful time in fellowship as we created these beautiful silk scarfs.


 While we waited for everyone to arrive Rachel and I had the ladies fill out a small card sharing a few things about themselves so that we can exchange cards with each other. The idea is to have a multi-generational secret pen pal to exchange what we will be calling,"Grace Mail" throughout the year. We are all very excited about this idea at Wrinkles and Grace and hope to share some of our Grace Mail fun in the future.

 Once everyone arrived we started on our craft for the evening.


 The first step to creating these beautiful scarfs is to pick out a color palette. We will do this by picking out different colors of tissue paper. We will be using the tissue paper as our dye.


 The tables were set so that each lady had their own bottle filled with a mixture of water and vinegar, a silk scarf and clingwrap.


  We had the ladies put their scarf into a bath of vinegar and water. "All you need to do is get the whole scarf wet and then press the water out."


Now you spread your scarf out flat on your table.


Start taring your tissue paper and placing it onto your scarf. This is your scarf so it is your choice as to how you want to place and tear your paper.


 As you are placing your paper you will need to spray the paper from time to time. This will help keep the papers in place.


 You can over lap your papers or you can leave white space. Again this is your creation. The idea is to have fun and make this scarf your own.


 Once you have all your papers on your scarf just the way you want them you will need to spray down the whole scarf with your vinegar water. Make sure the whole scarf is wet without saturating it. Now that this is done it is time to put a layer of clingwrap on top of your scarf.


Fold your scarf down on itself. Then add another layer of clingwrap  on to the scarf.


Carefully turn the scarf over and add clingwrap to the opposite side of your scarf.


Now it is time to role your scarf up.


Put your scarf into a microwave oven for 4 minutes.


 Carefully take the scarf out of the microwave oven. It will be hot. Please be careful! Use an oven mitt or tongs to take your scarf out of the microwave oven. Place your scarf in the sink and let it cool.


Now that your scarf is cool its time too start unwrapping it. This is the exciting part.


The reveal is so much fun.


  Fun, fun, fun! They all came out so beautifully. Wouldn't this be a great handmade gift? 


We hope you enjoyed our Ladies Craft Night and will join us again next month. Until then happy crafting!