Welcome to Wrinkles and Grace's Ladies Craft Night.
Tonight we will be making shell crosses.
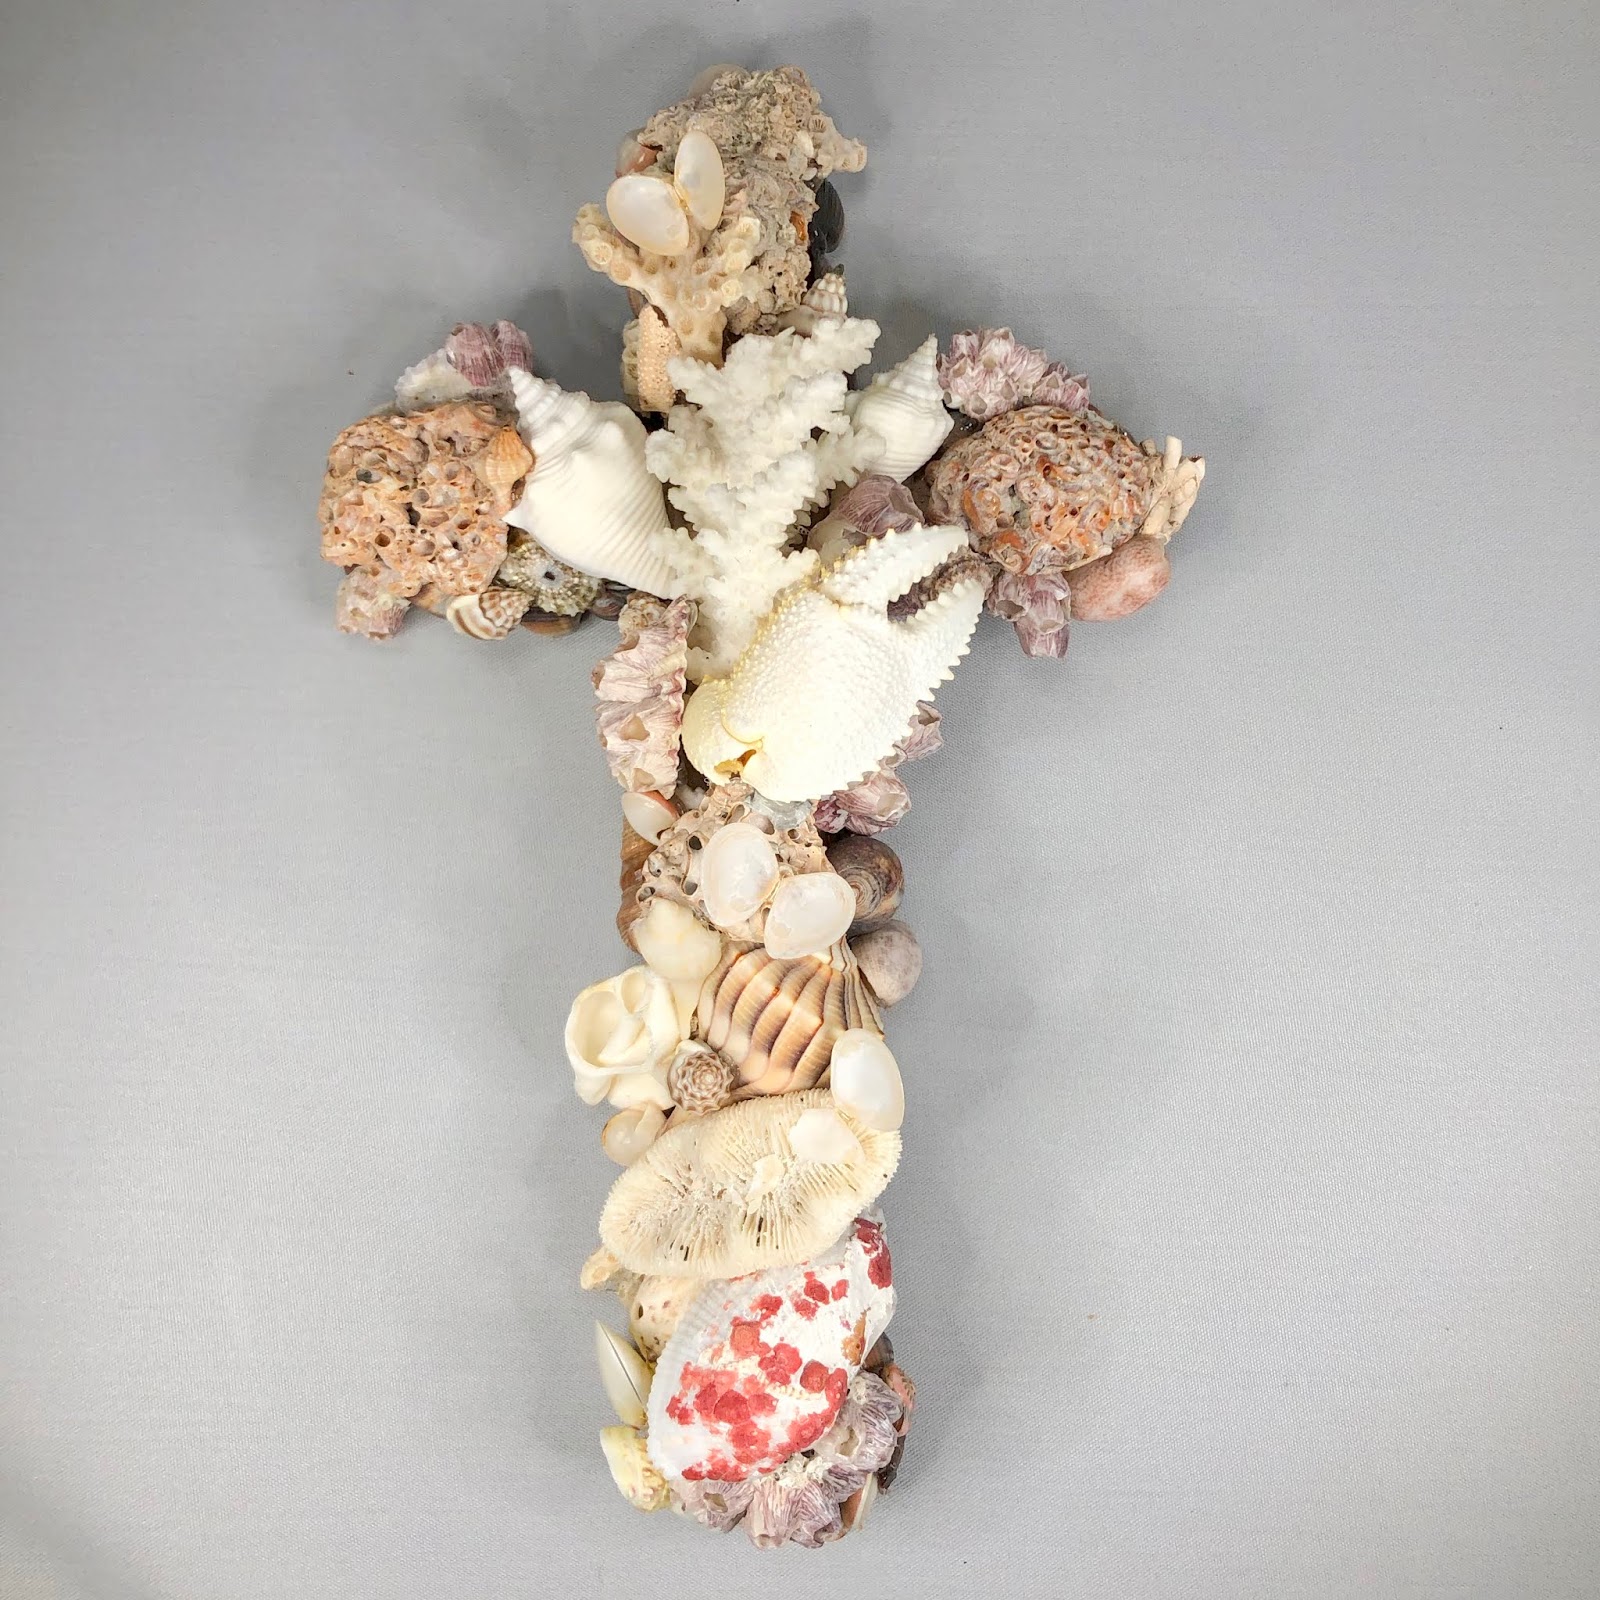
Shell Cross by Rachel Batey
The ladies started arriving to Connecting Pieces Studio around 6:00. I welcomed everyone at the door and asked them to come to the back of the and studio where our friend Julie had so graciously set out a table full of beautiful hors d'oeuvres, wine, lemonade, water and sweets. What more could a lady ask for after a long day, thank you Julie.
It didn't take long before everyone started to unwind and relax. I love when multi-generational women come together to talk and share. We can learn so much from one another when we take the time to listen.
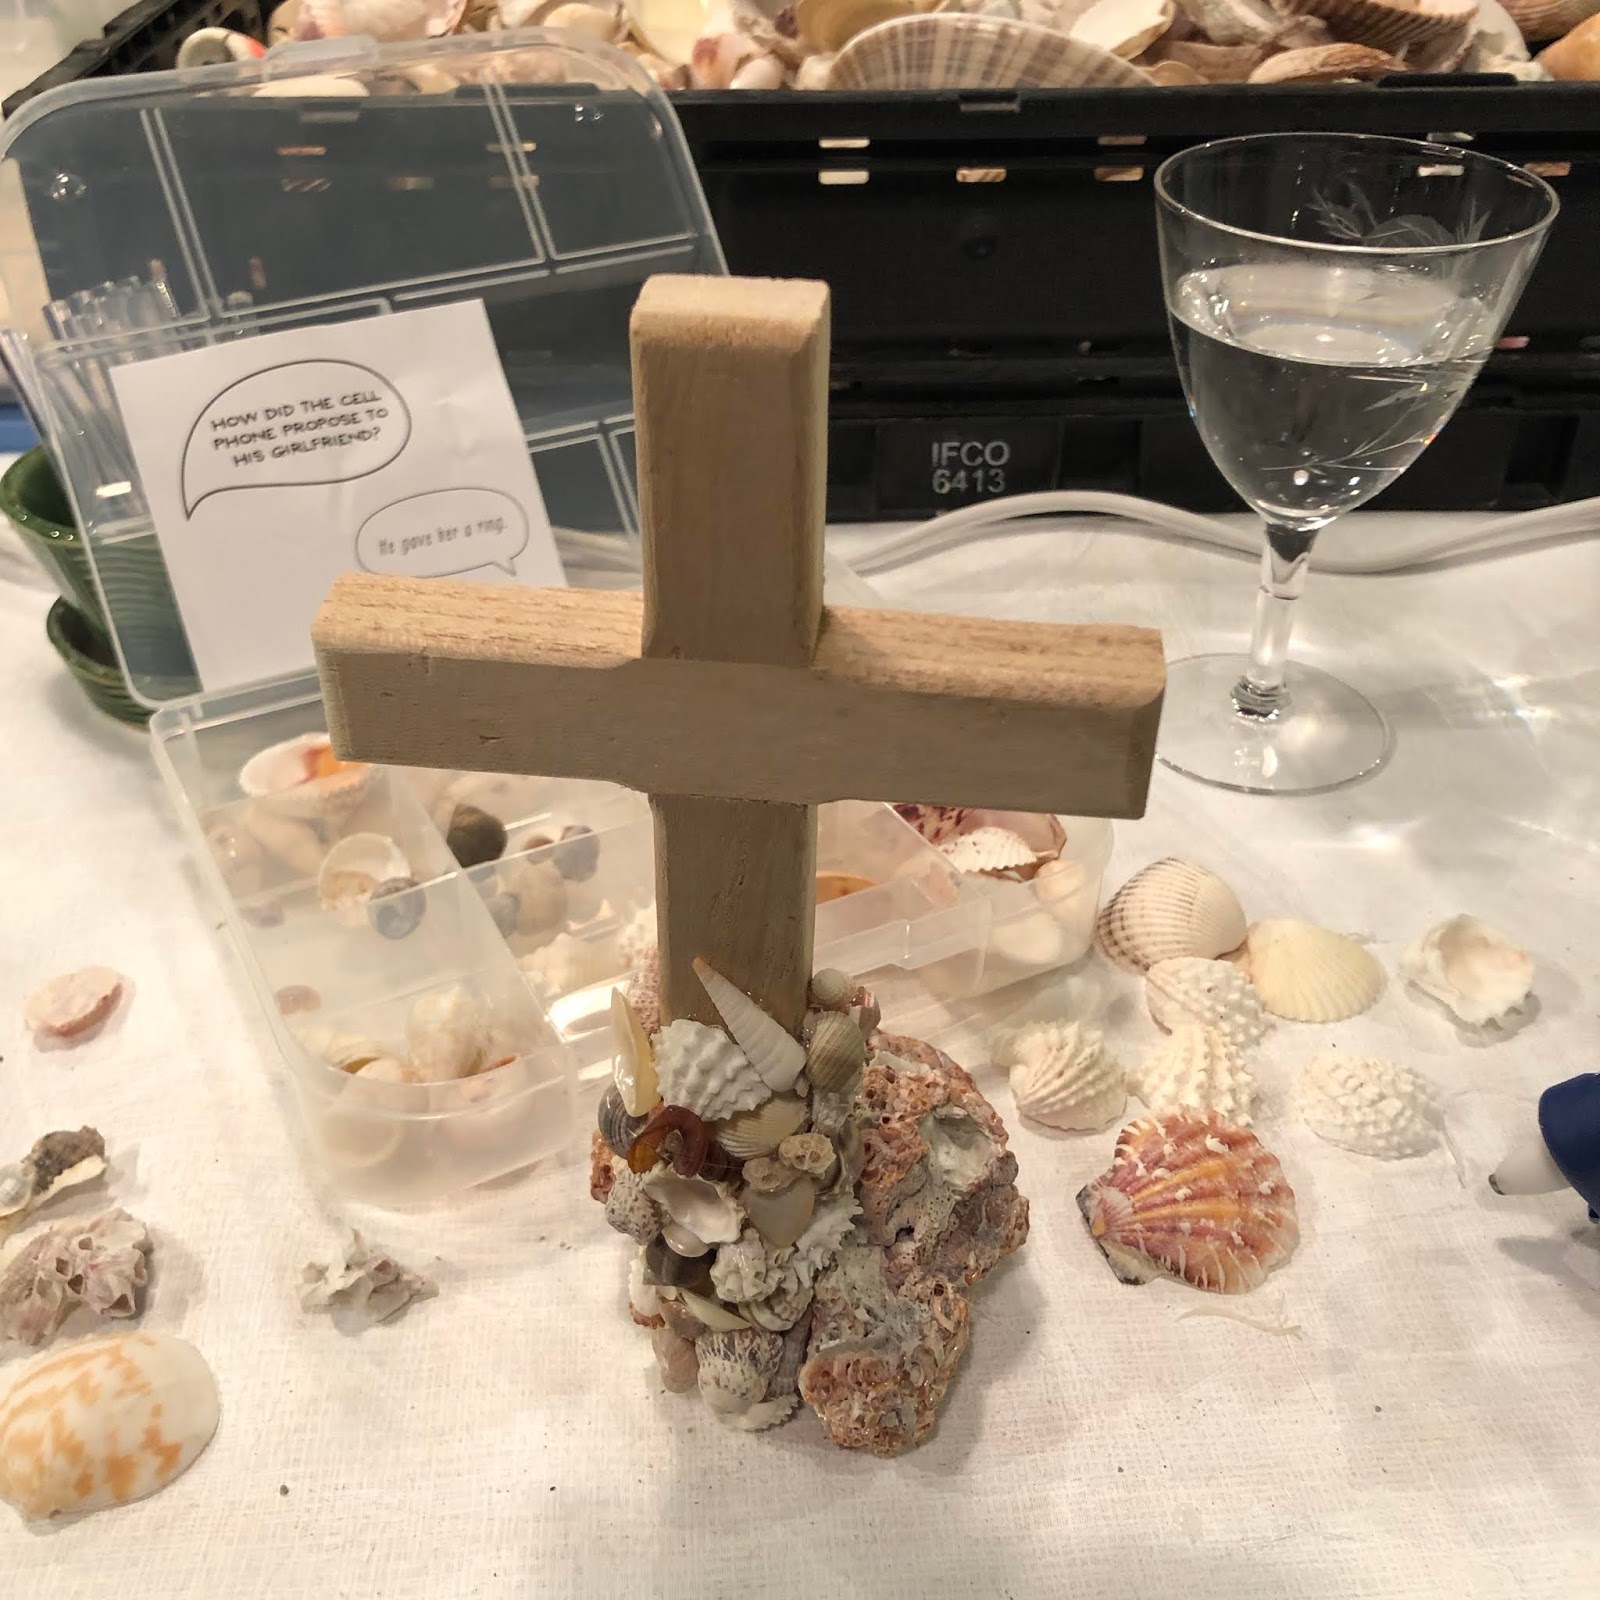
While everyone was enjoying a little refreshment I showed them a shell cross I had made earlier and talked to them about how they would be making their crosses tonight.


"What shell would you like as your focal shell?" I think that shell should stand out. Maybe it's a little larger than the rest or maybe you want a piece of coral as your focal shell. Be creative, enjoy exploring your shells and their placement. We are not gluing yet, we are just trying things out. Think about which shells that you will use on the top, bottom and sides of you cross.

Remember the center of your cross is your focal point. You might not want the bottom of your cross to get too visually heavy. Sometimes I like to glue a large shell or piece of coral onto the top of my cross for more height and depth.

Shell Cross by Felicia Taylor

Shell Cross by Glenda Keen
Once you have a good idea of the base shells that you will be putting on your cross then go ahead and turn on your glue gun. Give your cross one more look as the glue gun is heating up. Once you are satisfied then go ahead and start gluing the shells onto the side of your cross first.
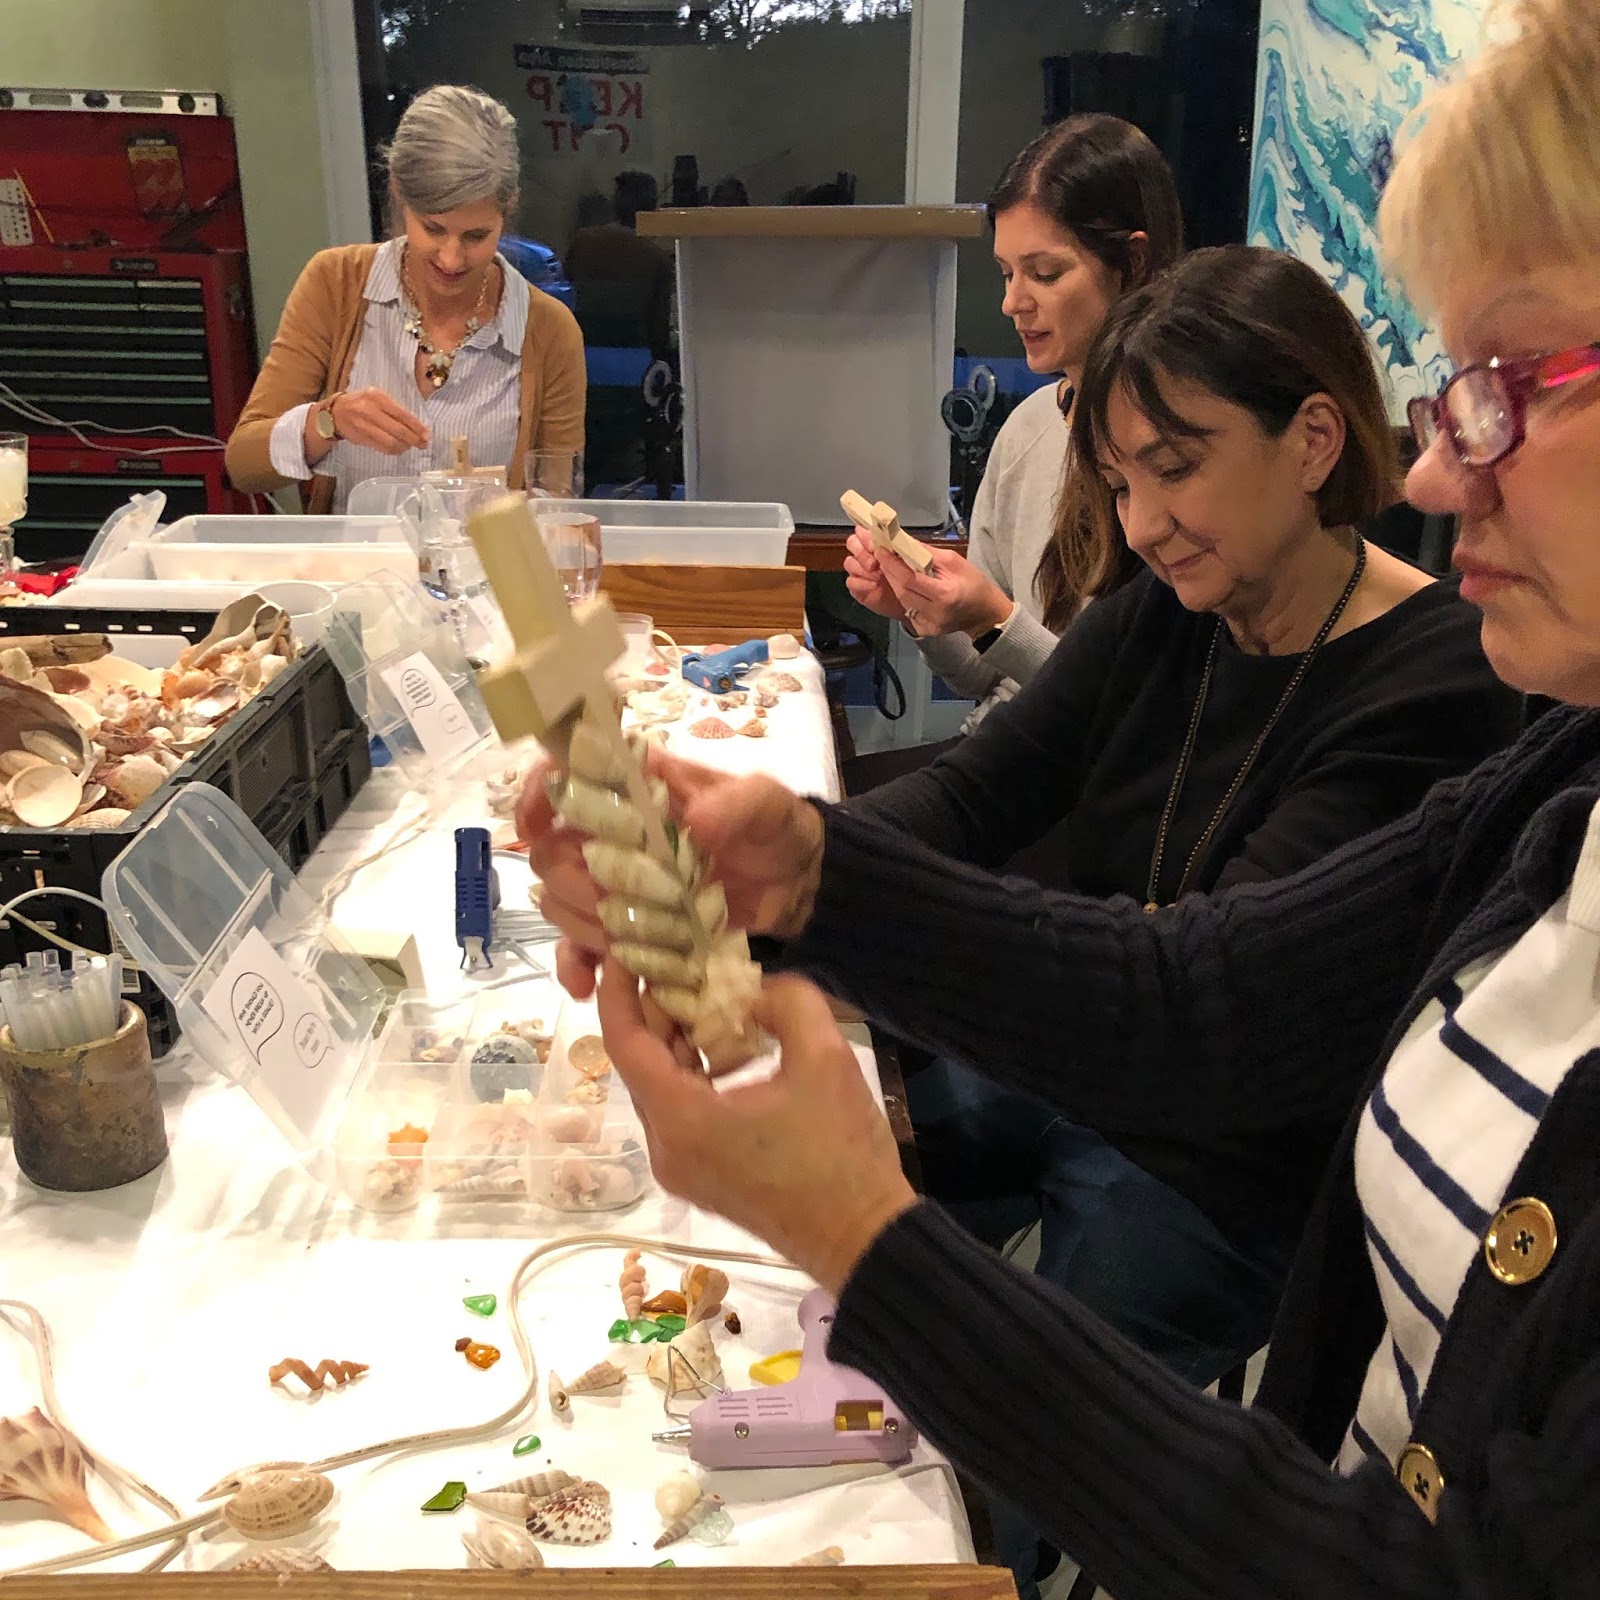
Now that your cross has a good foundation, it is time to start gluing the shells onto the top of your cross.

This is done by layering the medium shells, small shells and then the tiny shells.

I sometimes put a tiny shell in or on top of another shell. I find it adds dimension and visual interest. I also like to use long spiral shells for accents and to fill those tiny spaces.

Shell Cross by Carol Alderman, Rachel Keener and Julie Beddows
You will notice that Julie and Carol chose to add sea glass to their crosses. I love how different each cross comes out, no two are alike. Just as you are creating a one of a kind masterpiece. God took great care in creating each of us perfectly in His eyes. No two of us are alike, not even one other person shares your fingerprints. I hope these crosses will be a reminder of that as you pass by them in your home.
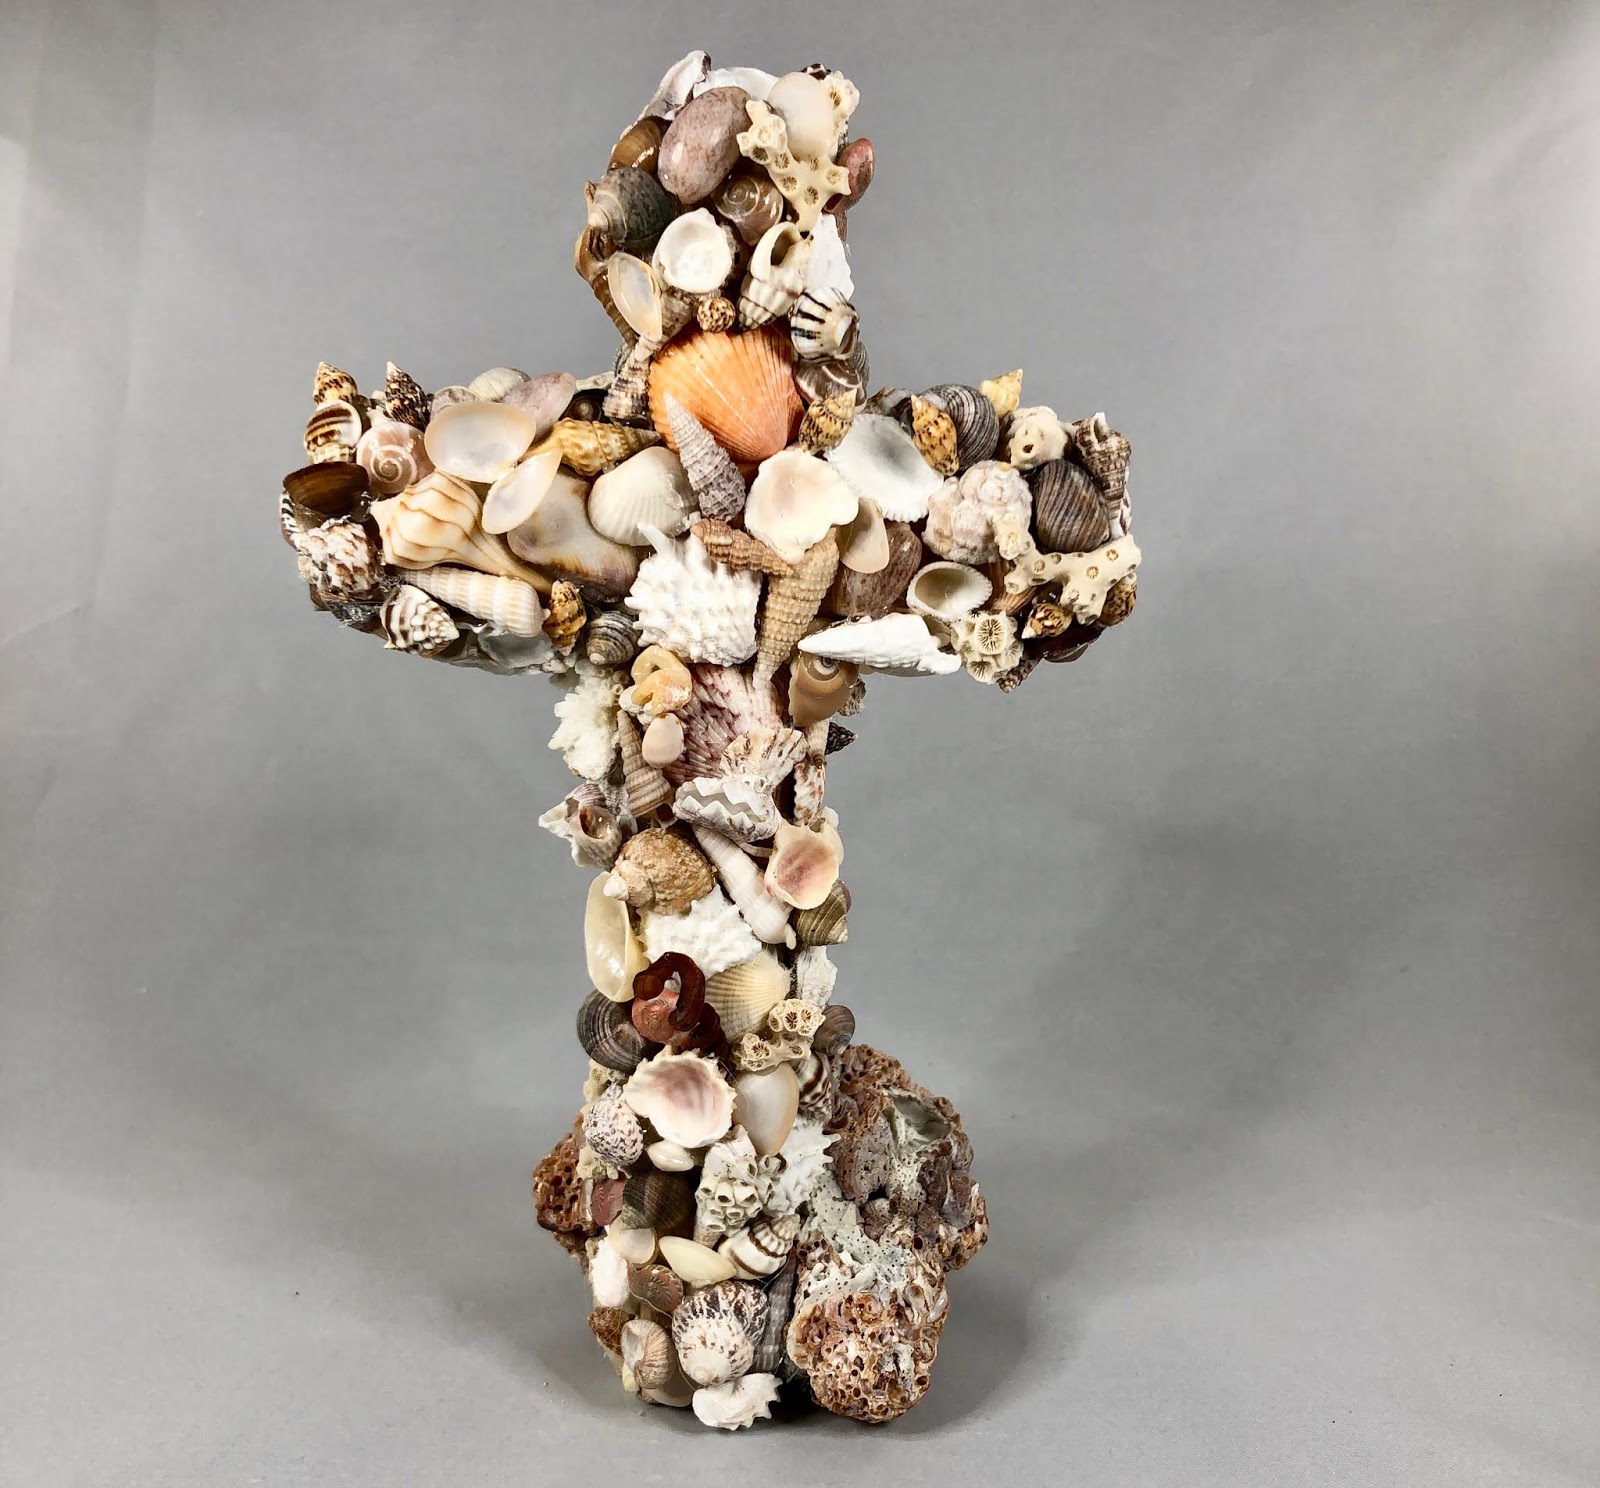
Rachel and Gail showed their creativity by making their crosses standing up. In this case, they started at the bottom of the cross and worked their way up. They made sure that their crosses had a strong foundation by using a large piece of coral or shells.

Once you have glued on all of your shells, and you love the way your cross looks. Smile! You have just created a one of a kind piece of art.
Shell Cross by Gail Travis

Thank you for taking part in our ladies craft night. It has been a wonderful time of women doing fellowship together.
Rachel and I have put together Shell Cross Kits for those of you who would like to have your own ladies night out. You can purchase them in our Etsy shop at www.etsy.com/shop/WrinklesandGrace . One kit is able to make three shell crosses that includes 3 wood crosses, 3 organizer boxes full of shells and 3 sets of 4 glue sticks. There was still a little room in the box so we put in an extra bag of mixed shells for your group to share. Shipping and handling is on us.
Rachel and I had so much fun making these crosses and in fellowship with other women we wanted to share the joy.

We hope to inspire other women to create and share their knowledge and gifts with each other.
Happy crafting, Ginny

No comments:
Post a Comment